Chunky Ducky
Plushie · Jumbo Ducky · Jumbo Duck · Jumbo Goose
This pattern is only viewable on https://lilis-crochethings.github.io/patterns/chunky-ducky — printing and saving as a PDF aren't supported. Please visit the site to follow along.
Images
Description
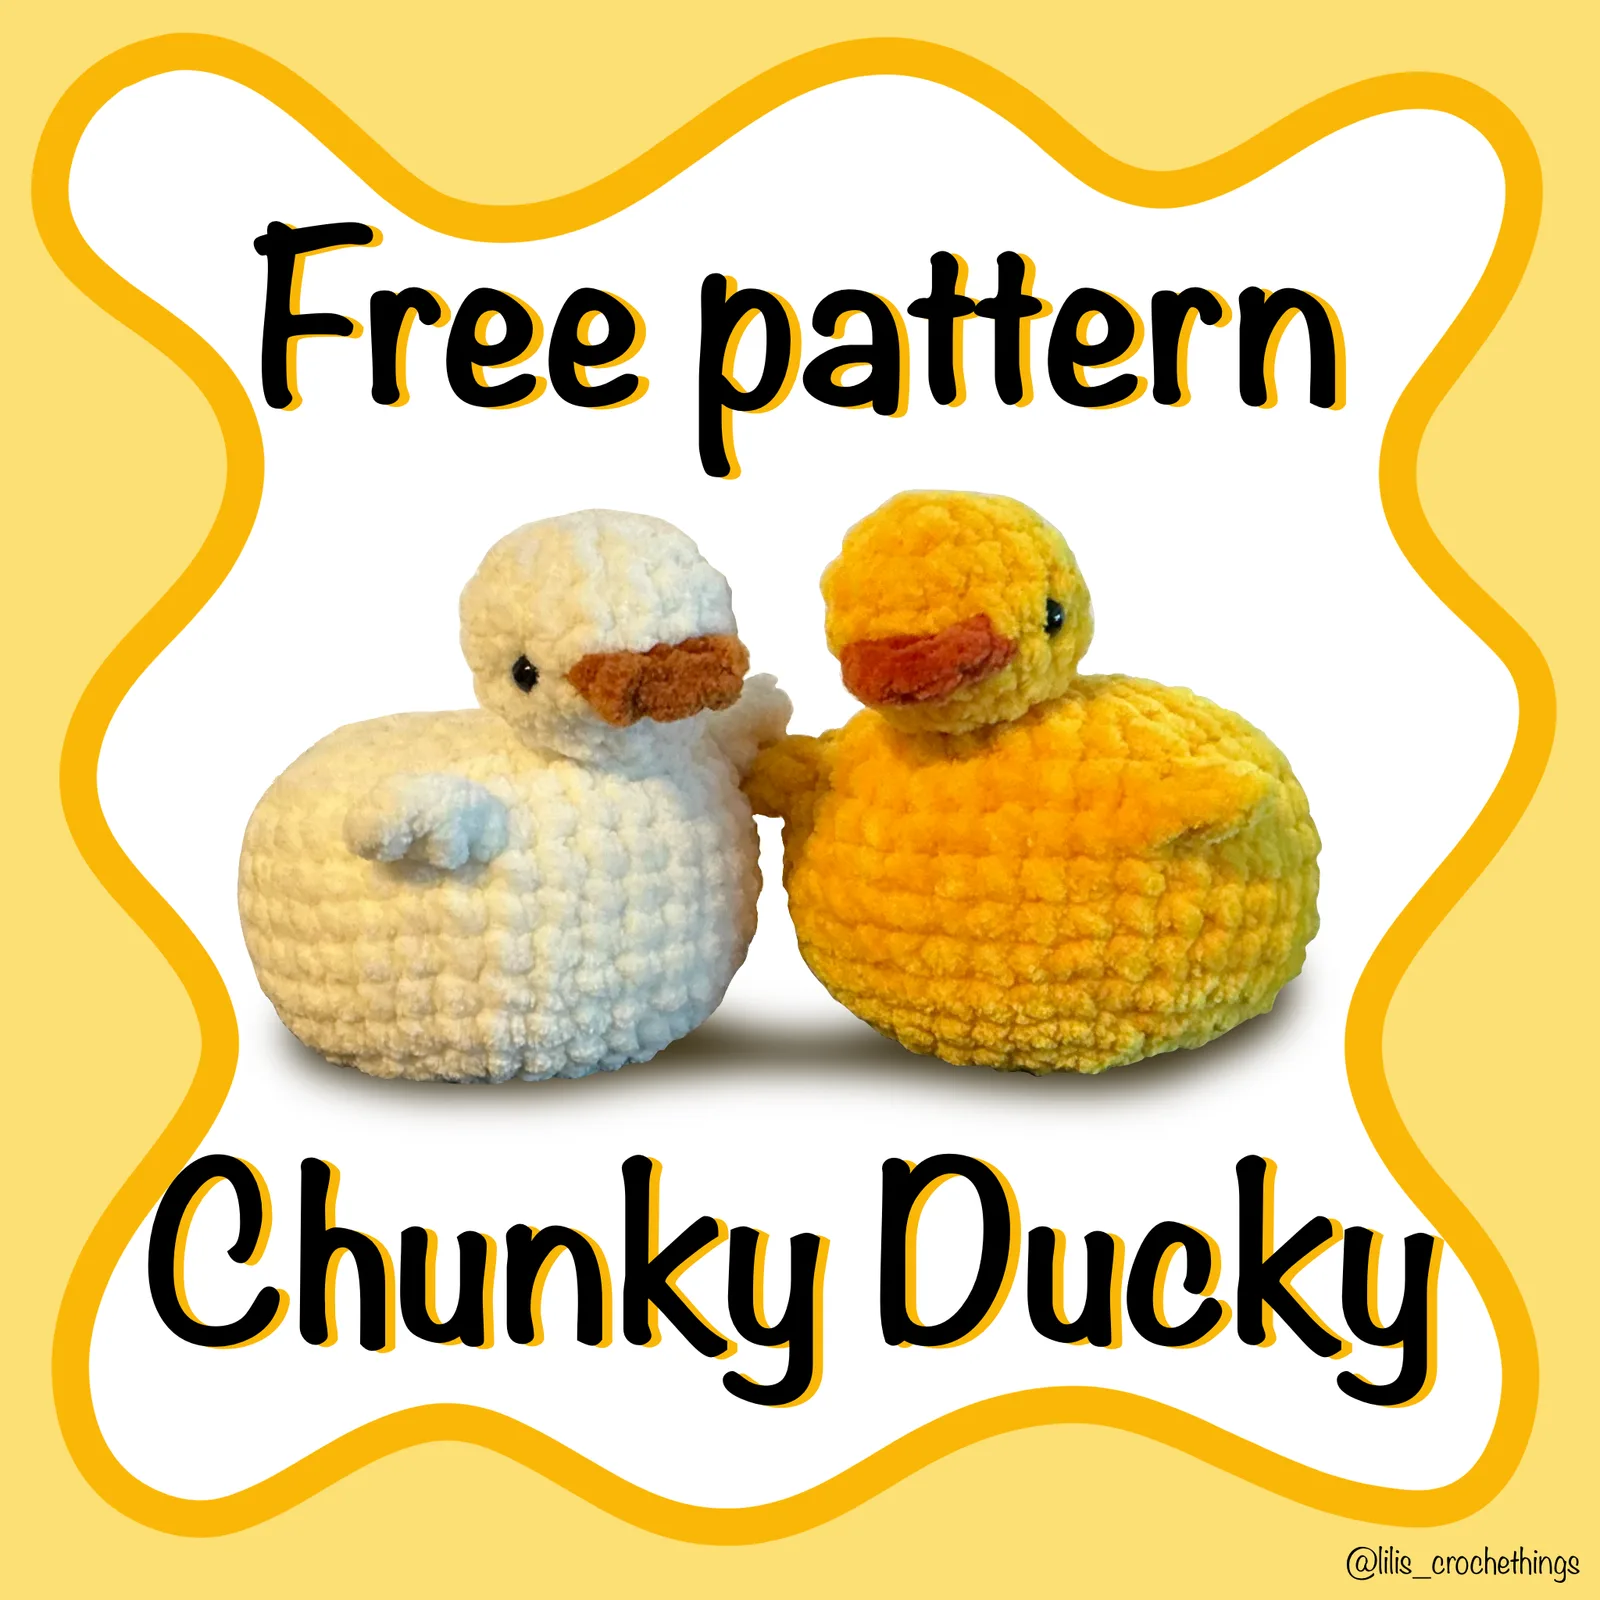
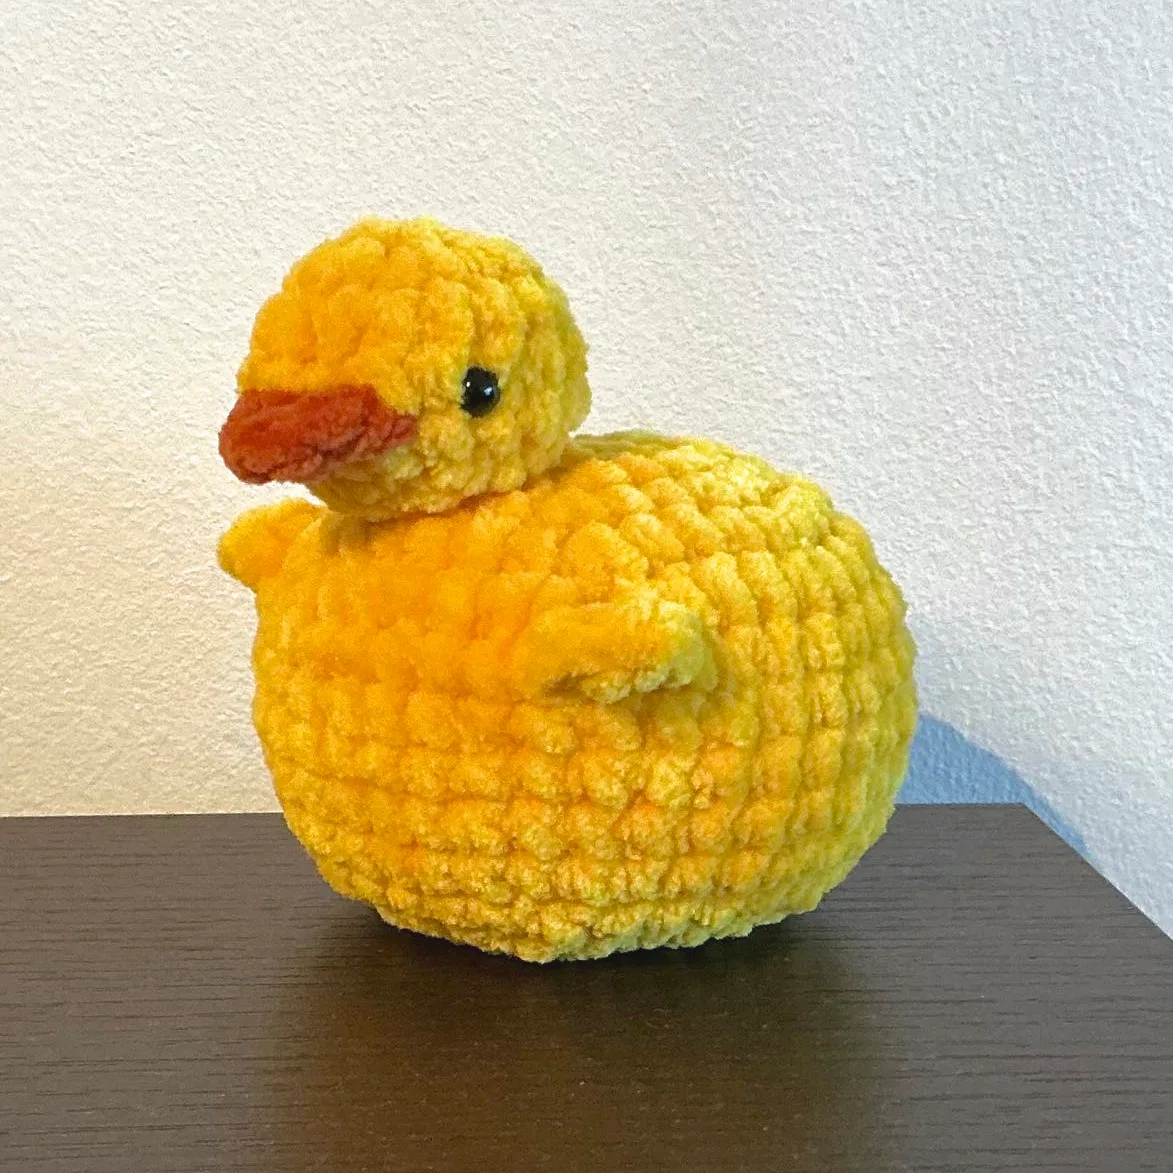
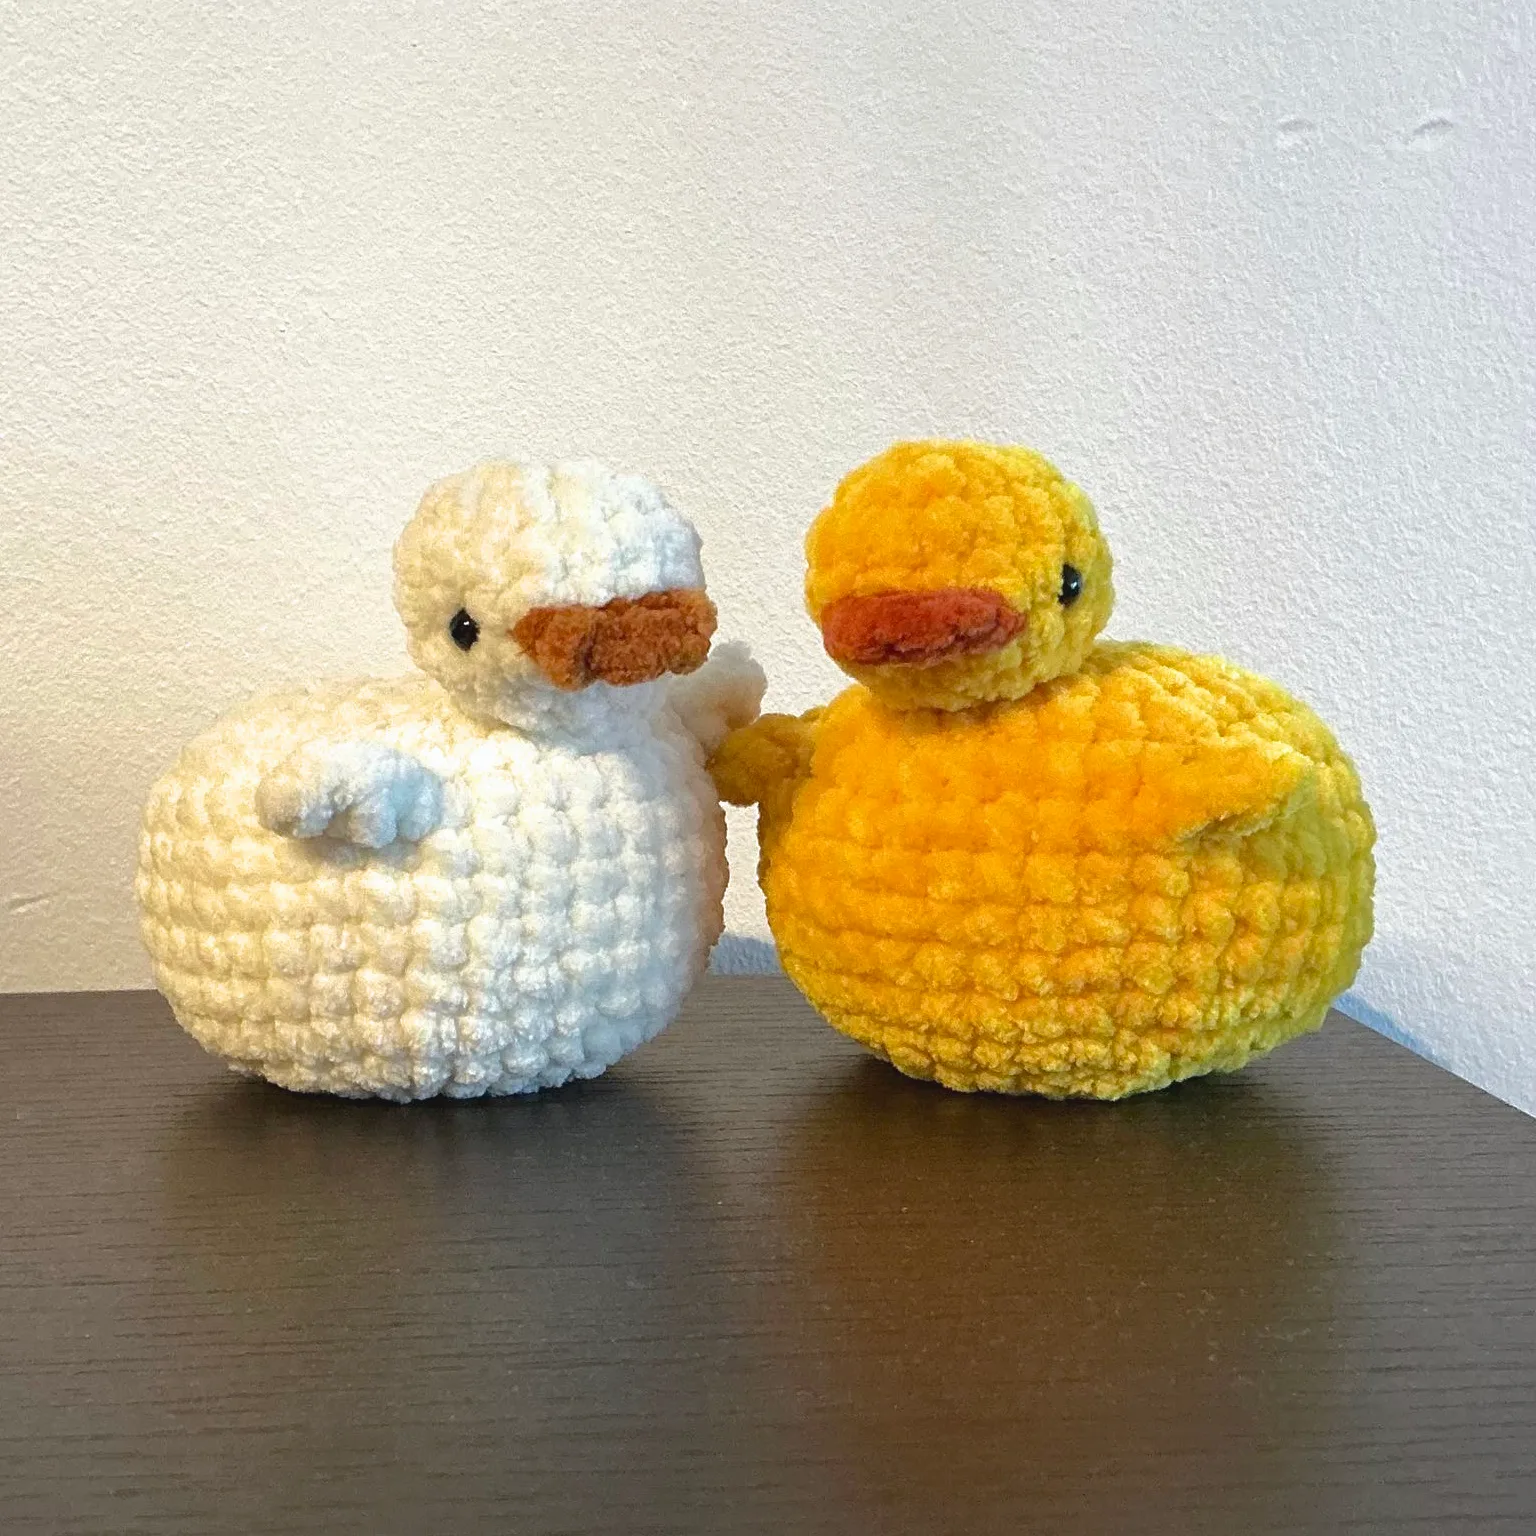
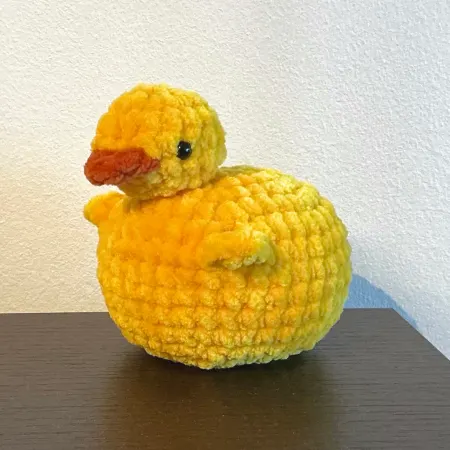
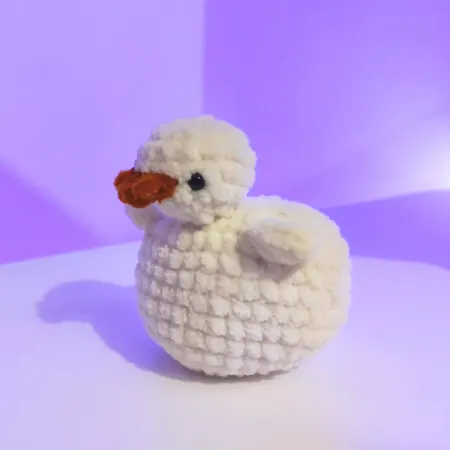
Meet the Chunky Ducky—a quick, squishy project that's as fun to make as it is to display! Whether you choose classic yellow, playful pastel shades, or white for an adorable goose, this pattern is perfect for creating your own feathered friend. Using super bulky yarn and a 4 mm crochet hook, this beginner-friendly pattern works up in under an hour, making it a great last-minute gift, market make, or satisfying weekend project. Mix and match colors to create your own flock of unique rubber duckies, or turn it into a cute goose with just a simple color swap. Looking for something a little more realistic? Be sure to check out the Mallard Duck variant for another fun twist on this pattern!
Materials
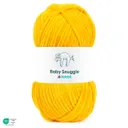
 Chenille25g of SunshineBaby Snuggle Solid · Super Bulky
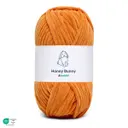 ChenilleScraps of Gold DustHoney Bunny · Super Bulky
Pattern
Settings
The colors that you choose here override the colors used in the pattern. Make sure you use ones that are visible against the background.Color that is used for the body
Color that is used for the beak
Body
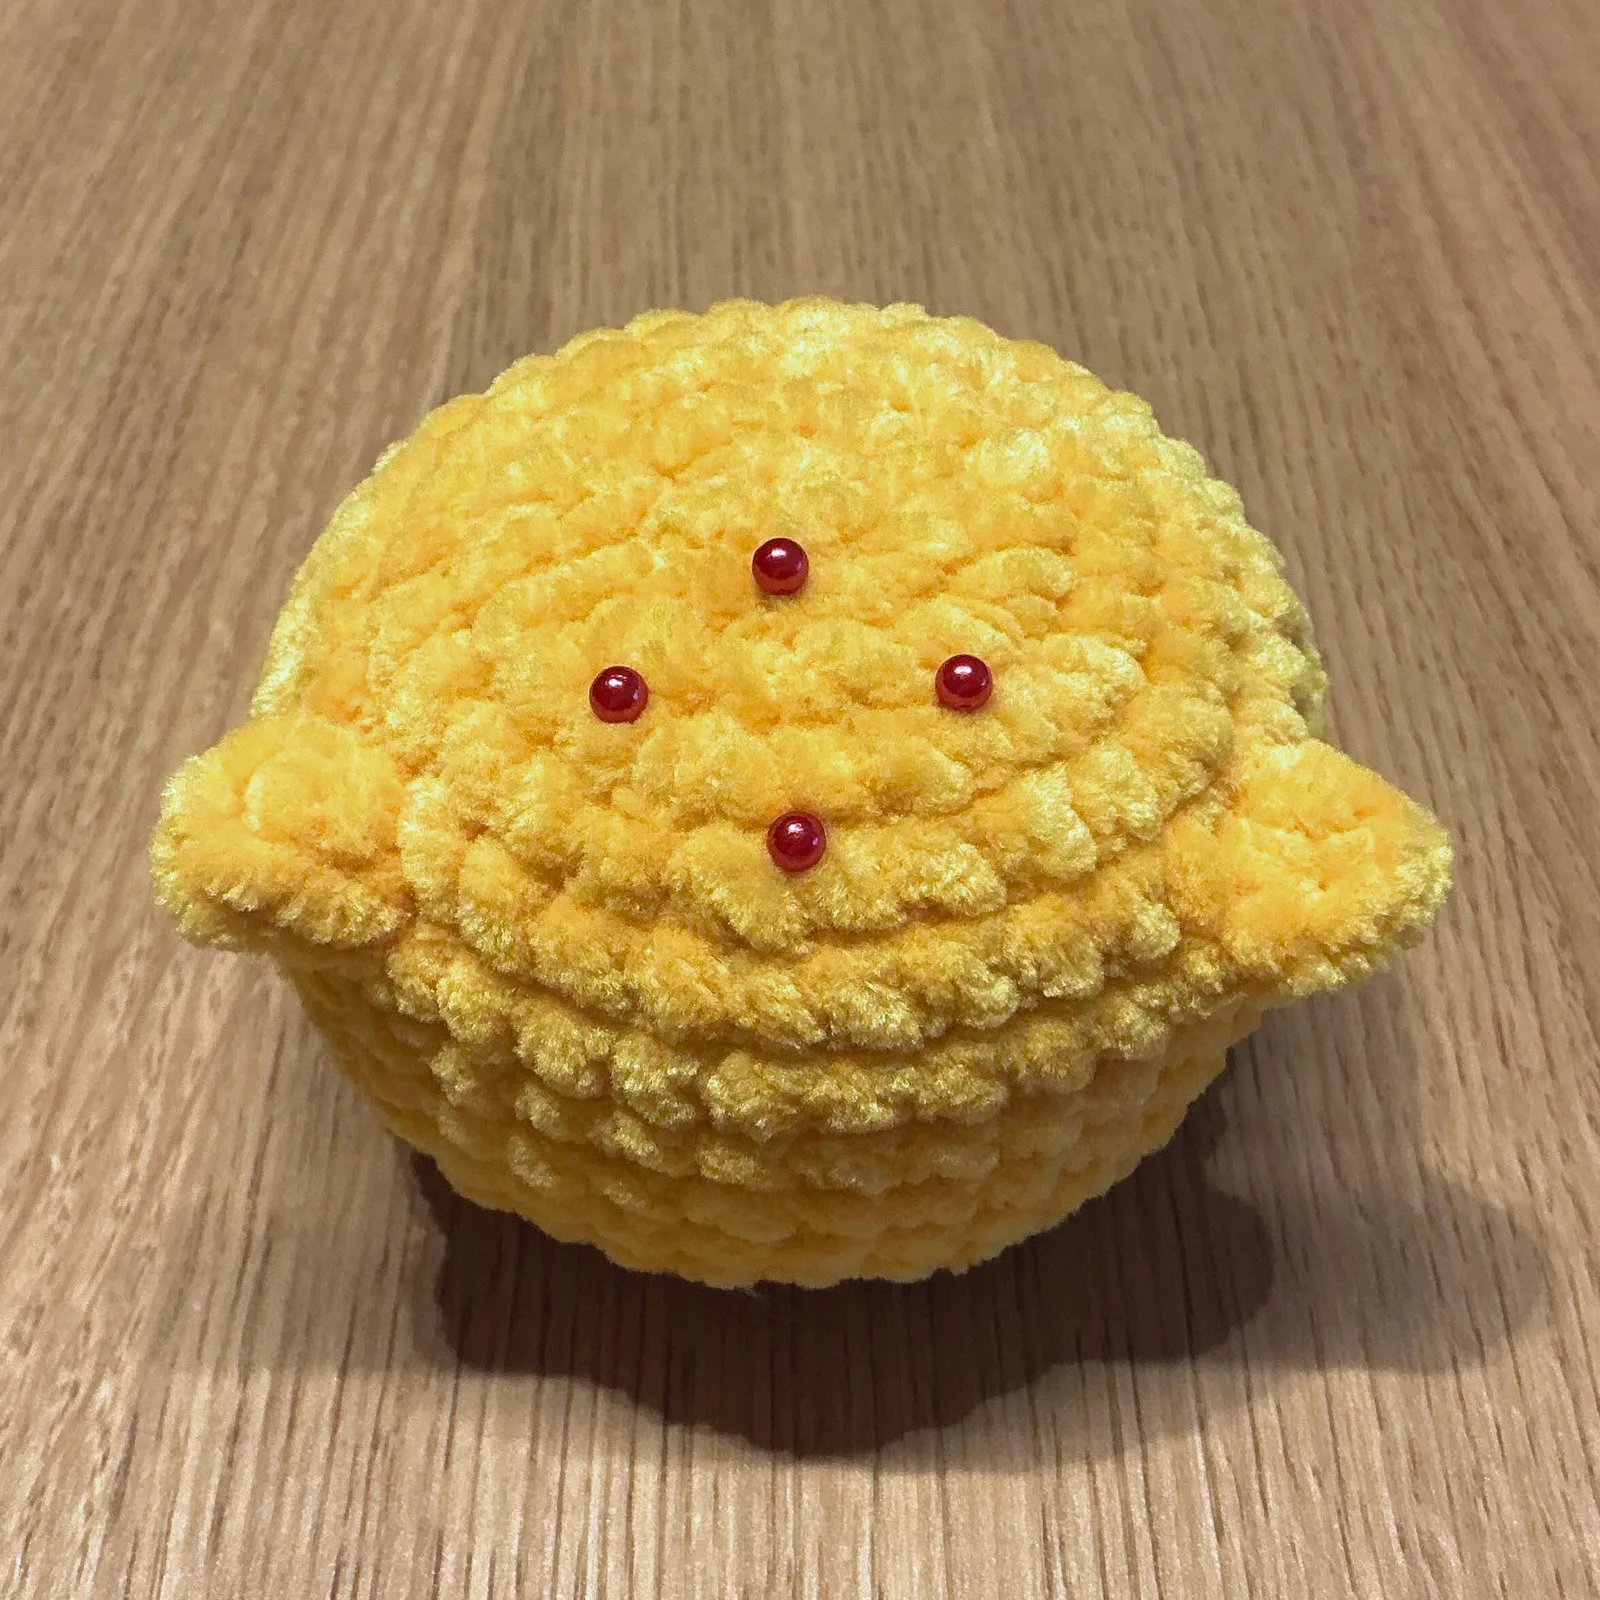
The entire project is made with a 4mm hook. The body is worked in rounds in the color yellow.
Round 1: MR with 8 SC(8)
Round 2: 8 INC(16)
Round 3: (1 SC, 1 INC) x8(24)
Round 4: (3 SC, 1 INC) x6(30)
Round 5: (4 SC, 1 INC) x6(36)
Round 6: FLO: [1 SLST, 2 CH, 2 HDC], ALL: 10 SC, FLO: [2 HDC, 2 CH, 1 SLST], ALL: 24 SC(36)
The wings are worked in the front loops only, the rest is through both loops.
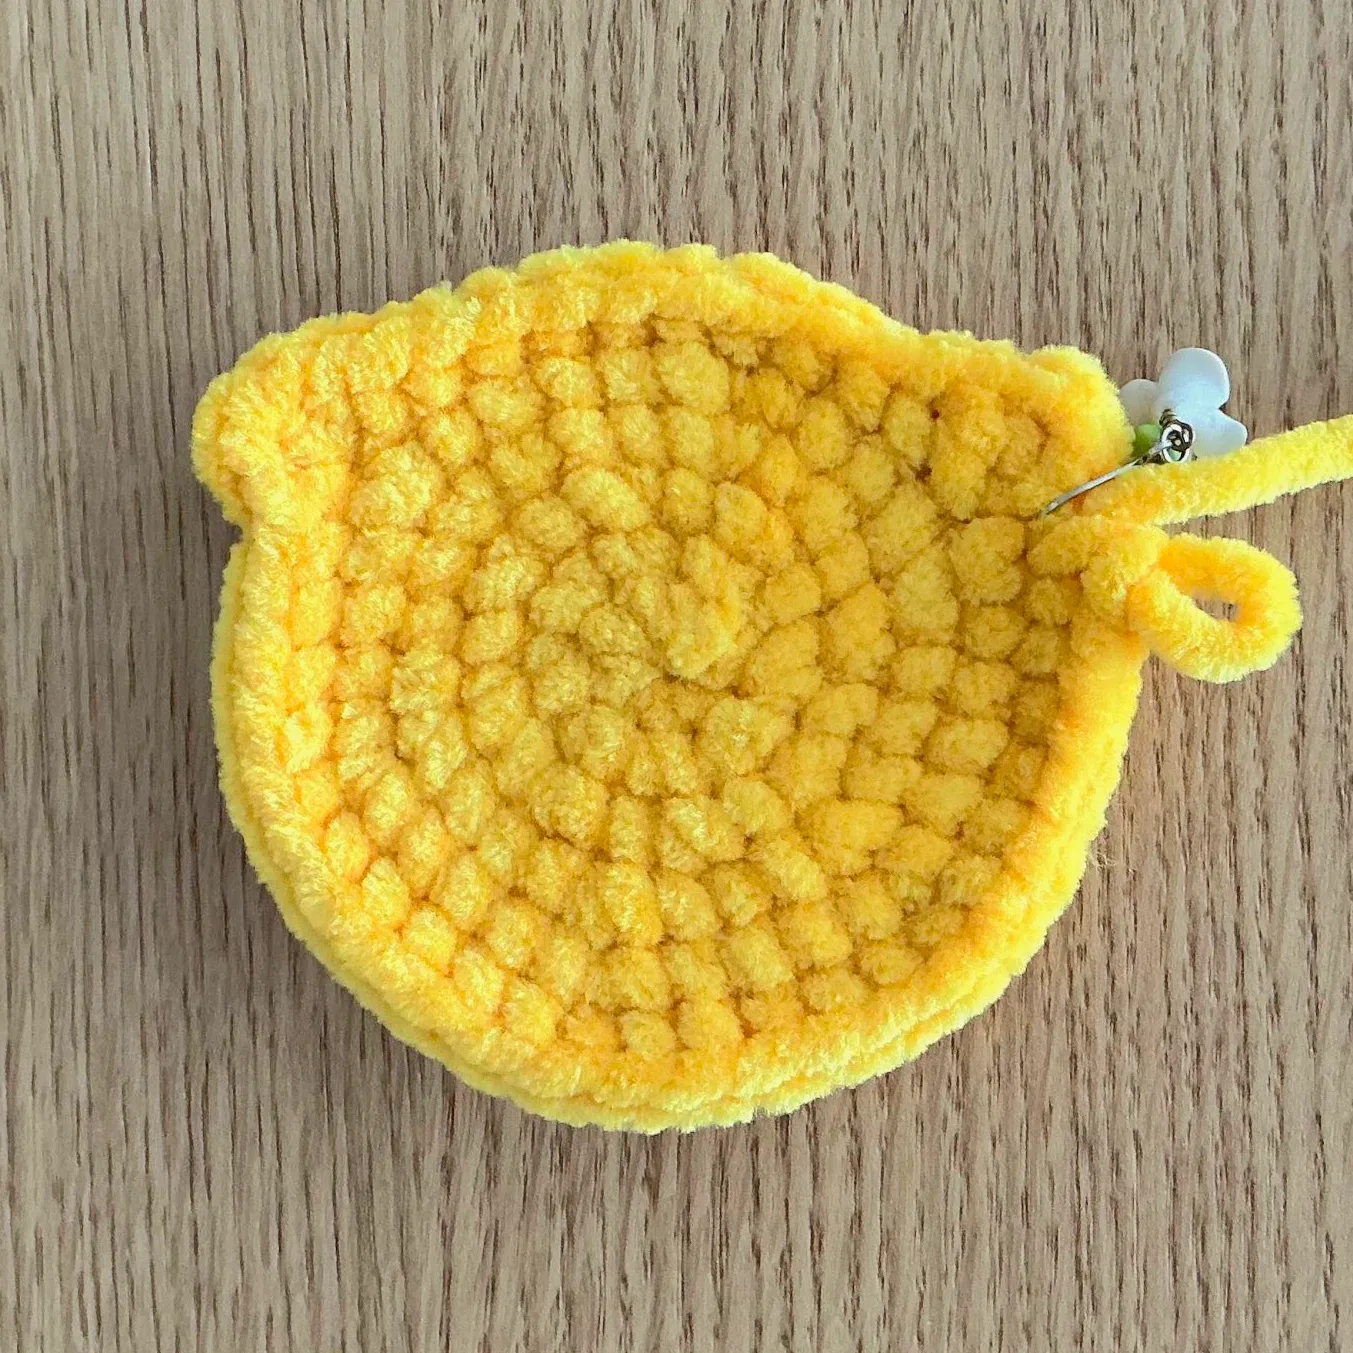
Round 7: BLO: 1 SC, ALL: 10 SC, BLO: 1 SC, ALL: 24 SC
Work in the back loops when passing the wings
Round 8–11 (4 rounds): 36 SC(36)
Round 8: 36 SC(36)
Round 9: 36 SC(36)
Round 10: 36 SC(36)
Round 11: 36 SC(36)
Round 12: (4 SC, 1 DEC) x6(30)
Round 13: (3 SC, 1 DEC) x6(24)
Round 14: (1 SC, 1 DEC) x8(16)
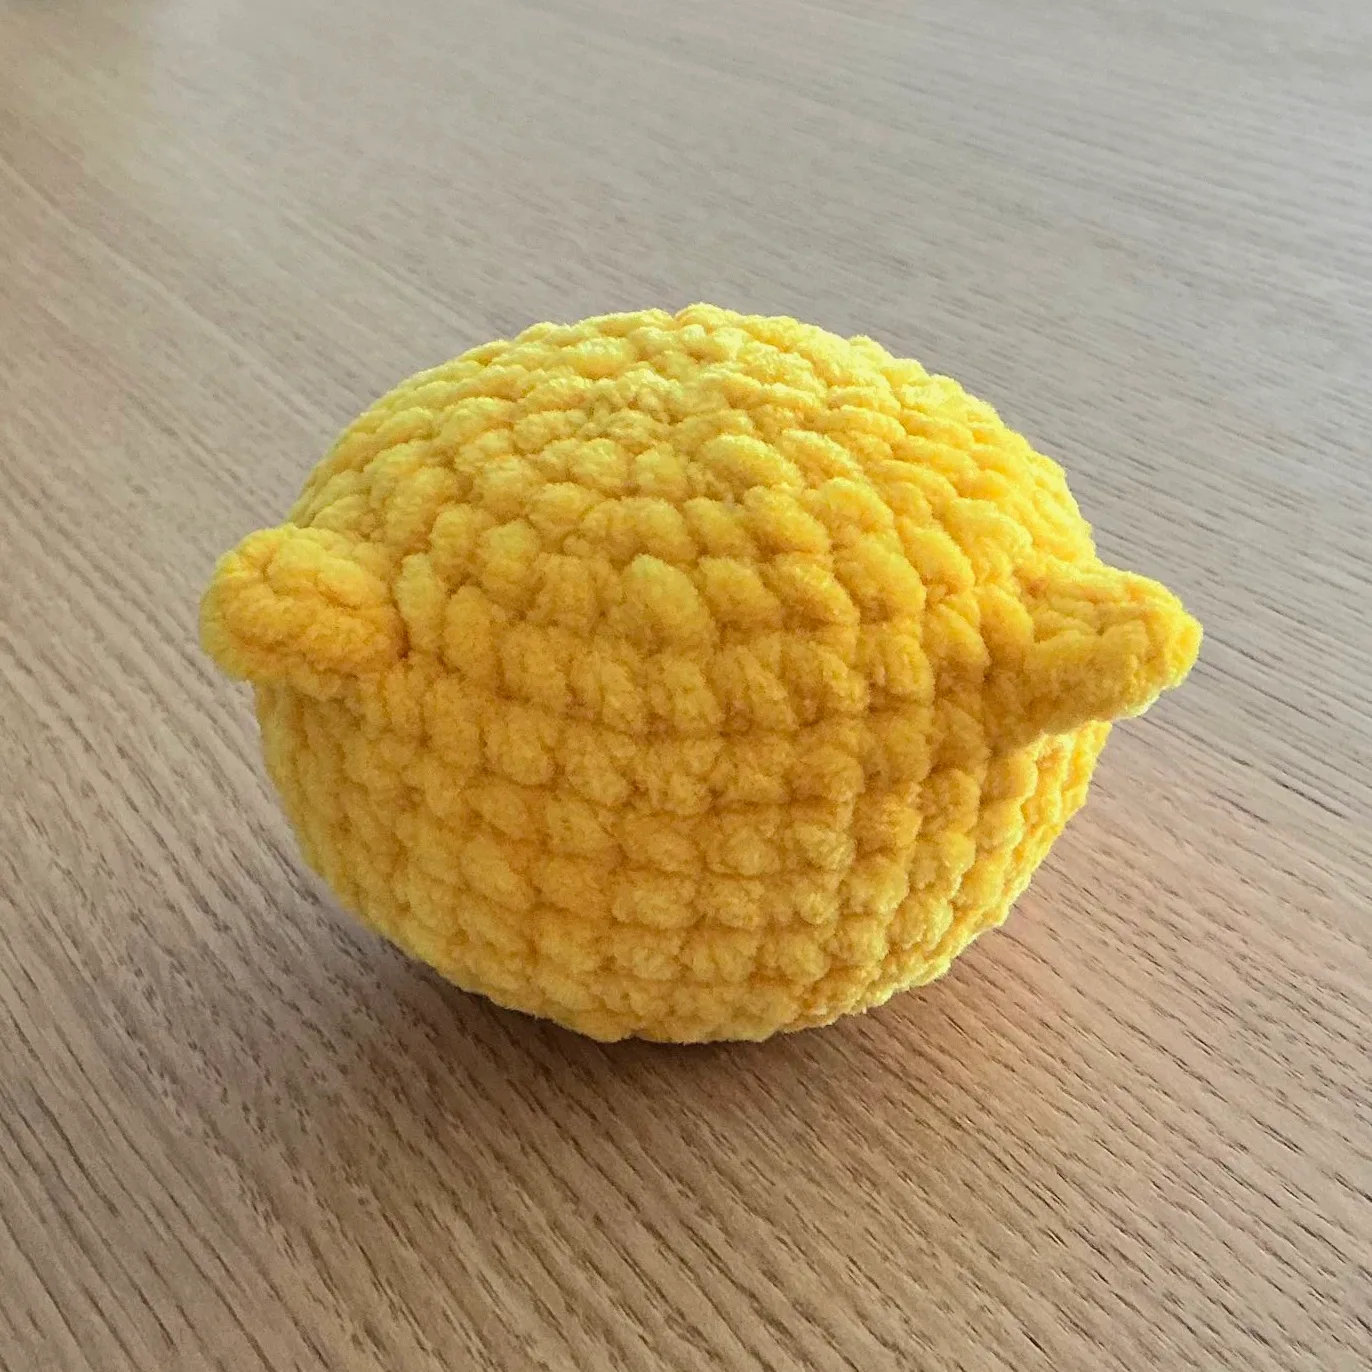
Start stuffing the body
Round 15: 8 DEC(8)
Close off the hole and weave in the ends
Head
The head is also worked in rounds in yellow.
Round 1: MR with 8 SC(8)
Round 2: 8 INC(8)
Round 3–5 (3 rounds): 16 SC(16)
Round 3: 16 SC(16)
Round 4: 16 SC(16)
Round 5: 16 SC(16)
Beak
Now we'll start with the beak, so pick up your orange yarn. It takes up 4 stitches of space between rounds 4 and 5 of the head.
Turn the head so the magic ring is at the top. Insert the hook horizontally between round 4 and 5. Pick up the yarn and pull through. Then chain 1 to attach it to the head.
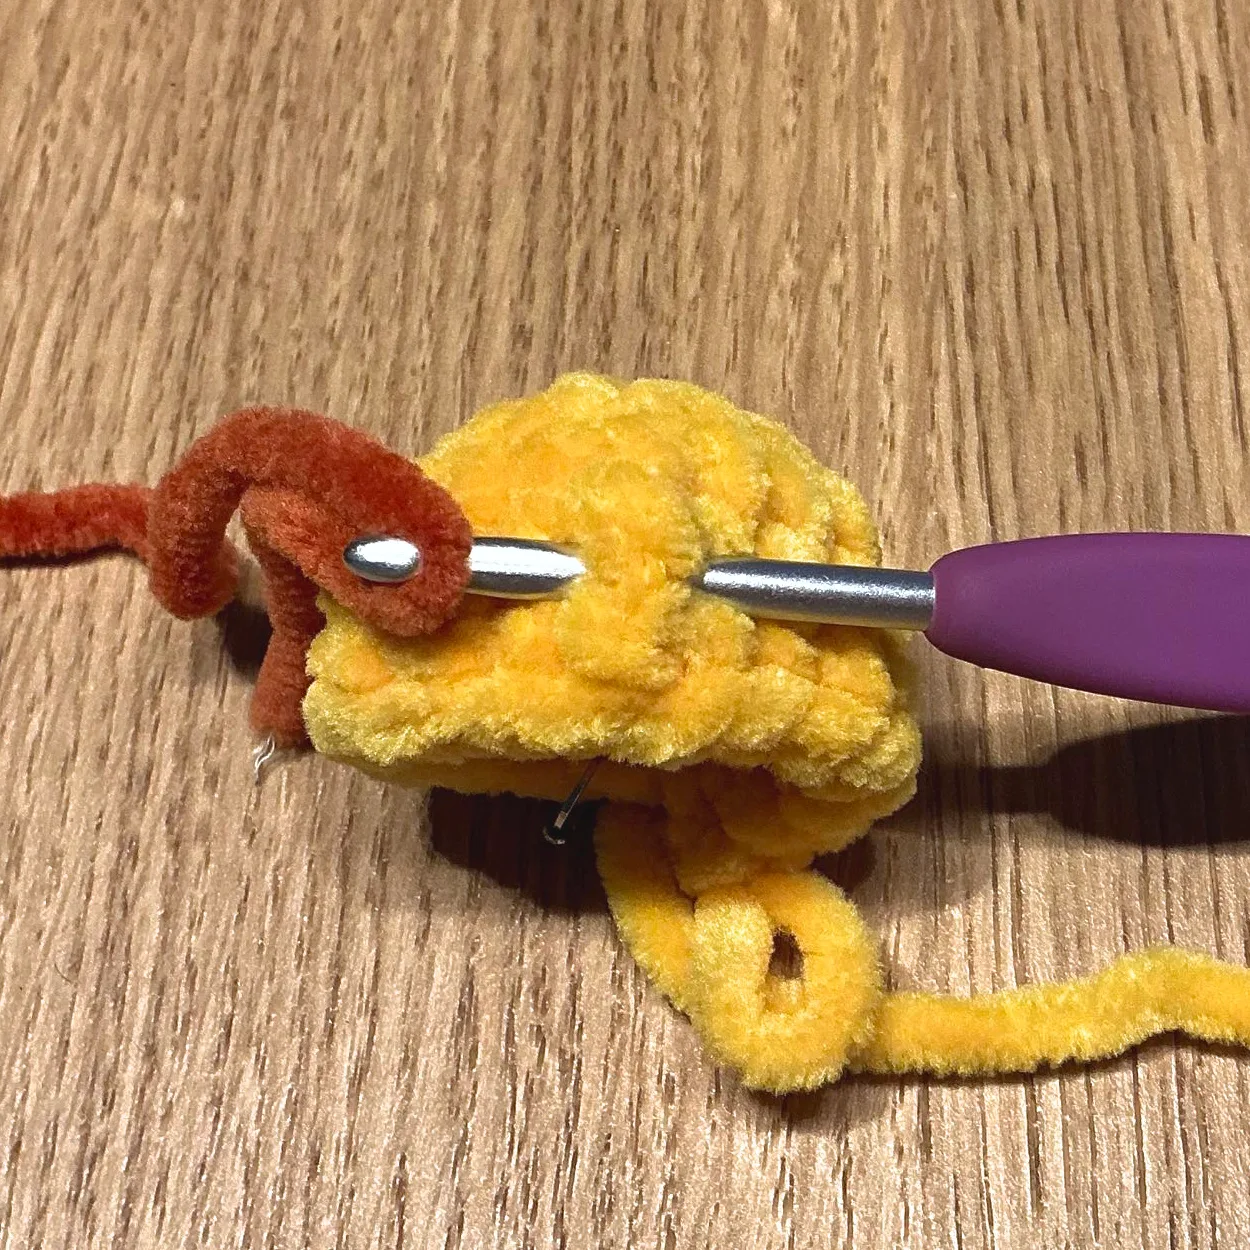
Row 1: 2 SC, 1 SLST, TW
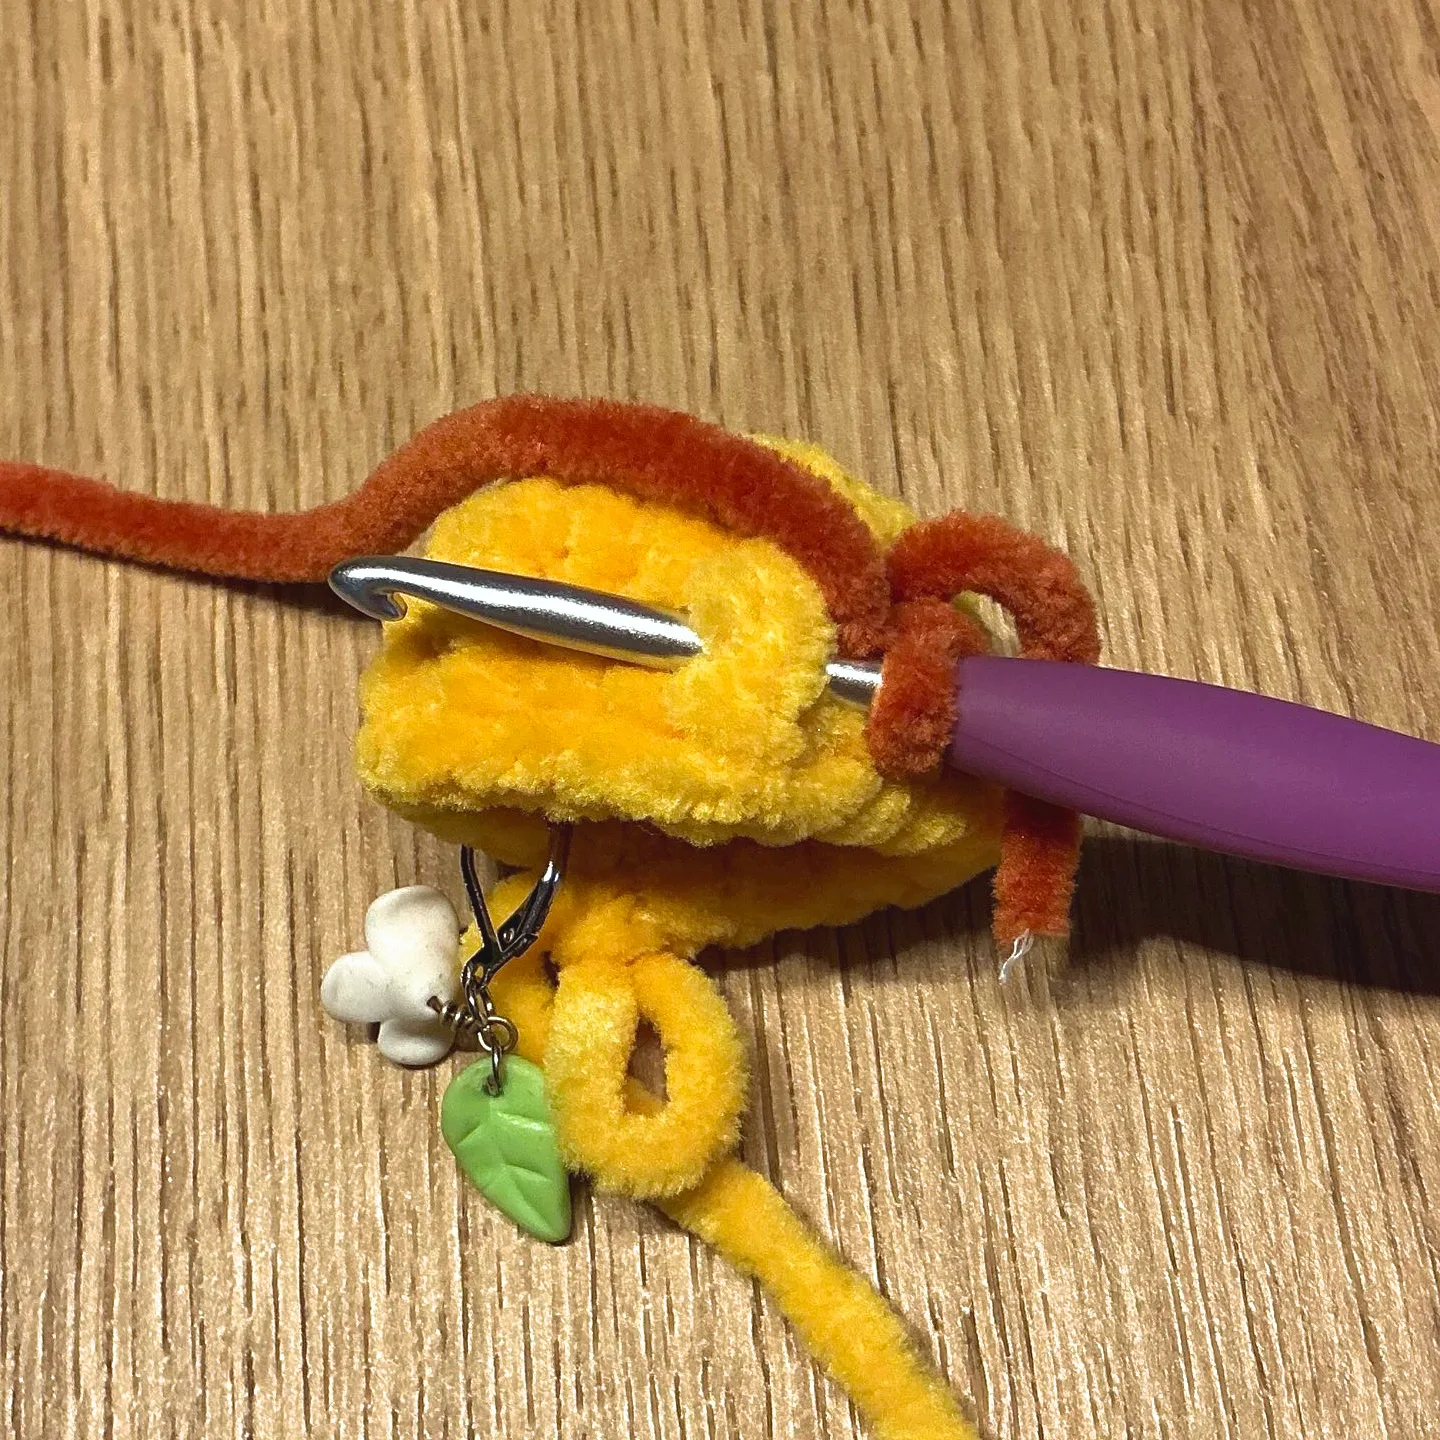
Row 2: Skip 1 stitch, 2 SC, 1 SLST
The last slipstitch goes into the first chain we made
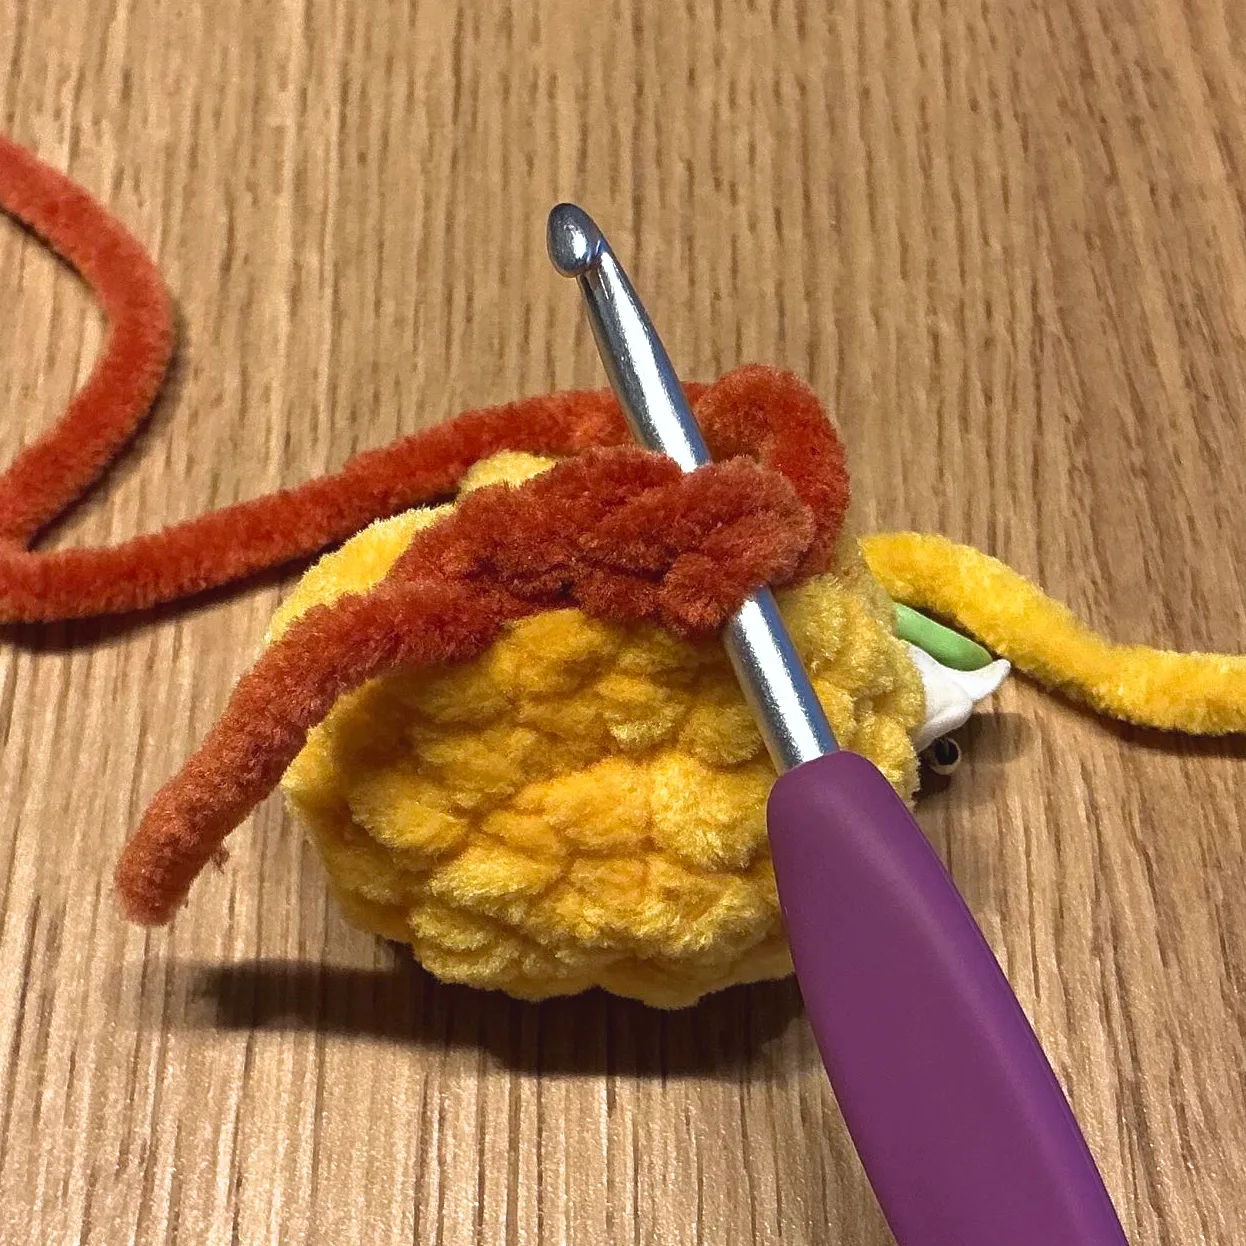
Weave in the ends of the beak and insert the safety eyes between round 4 and 5, one stitch away from the beak.
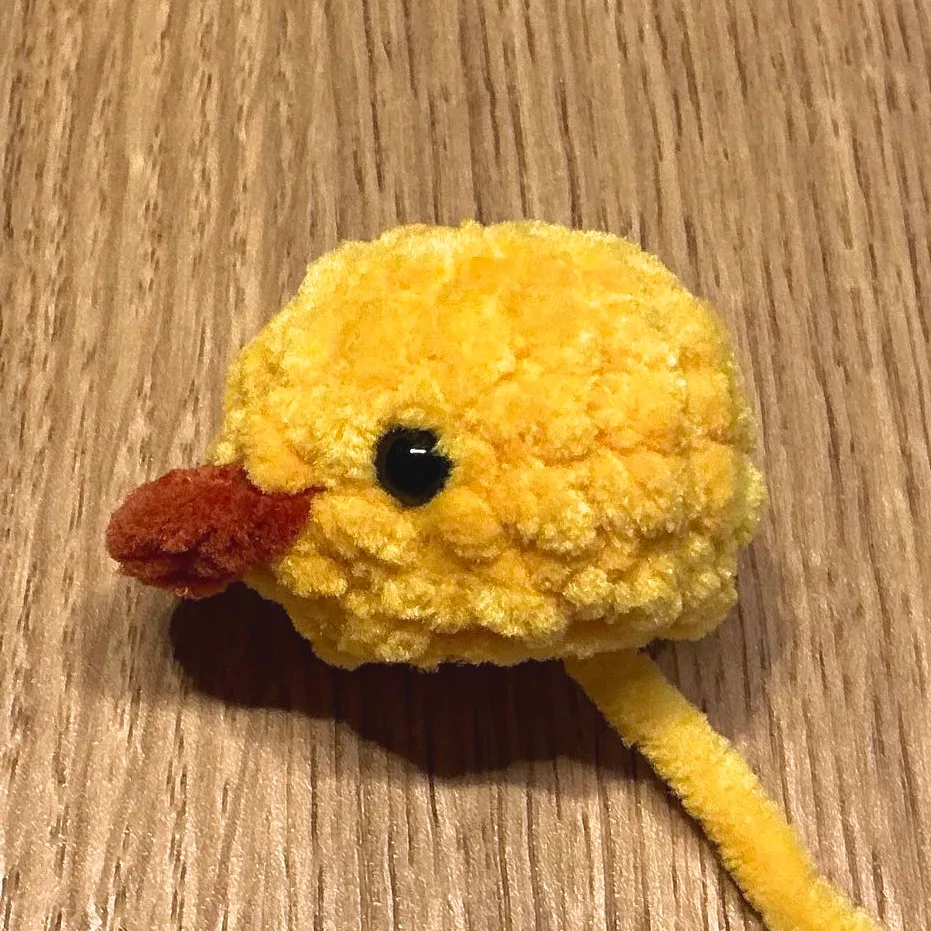
Head (continued)
We'll now continue on the last round of the head, so we switch back to our yellow yarn.
Round 1: 8 DEC(8)
Stuff the head. Finish off and leave a tail for sewing
Assembly
Sew the head onto the body between rounds 2 and 5.
Info
- 2/7/2026
- 7/15/2026
- 1 h
- 4mm
Lili
Hi there, I'm Lili, the creator of this pattern. If you like my content, you can follow me on:



Need help with this pattern? Feel free to reach out:

Pattern makes
See also
Abbreviations
- MR:
- Magic ring
- SC:
- Single crochet
- INC:
- Increase
- DEC:
- Decrease
- SLST:
- Slip stitch
- CH:
- Chain
- HDC:
- Half double crochet
- FLO:
- Front loops only
- BLO:
- Back loops only
- TW:
- Turn your work
- ():
- Repeat pattern
- []:
- In the same stitch
Progress
Congratulations! 🎉
Congratulations on finishing your very own Chunky Ducky! 🦆 Whether you made a classic rubber ducky, a cute little goose, or came up with your own unique color combination, I hope you had as much fun crocheting it as I had designing it.
I'd love to see how it turned out! If you share your creation on social media, please tag me and credit me as the pattern designer. That way I can admire your work and share in your accomplishment!